This is a repost from my old blog.
We will use the last tutorial as a base to learn how to use custom segues.
Suppose you don't want to push between view controllers. In particular, suppose you want first view controller to flip to the second view controller. To achieve this, you need a custom segue.
Create a new Objective-C class in the StoryboardDemo2 project with the name
JHCustomSegue.m and let it be a subclass of UIStoryboardSegue. Open up
JHCustomSegue.m and add the following code:
- (void) perform {
    UIViewController *src = (UIViewController *) self.sourceViewController;
    UIViewController *dst = (UIViewController *) self.destinationViewController;
    [UIView transitionWithView:src.navigationController.view duration:0.2
                       options:UIViewAnimationOptionTransitionFlipFromLeft
                    animations:^{
                        [src.navigationController pushViewController:dst animated:NO];
                         }
                    completion:NULL];
}
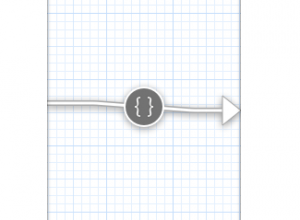
Next, open up the storyboard in XCode and click on the segue. In other words, click on the arrow pointing from the first view controller to the second view controller.

Hit Alt+Cmd+0 to open up the Utilities pane. Navigate to the Attributes
Inspector, choose Custom for Style and input JHCustomSegue for Segue Class.

Now, run your app in the simulator. You should be able to flip from the first view controller to the second by tapping on the button at the top right-hand corner.